My New Series: What’s in the Box!? Essential Drawing Supplies
AN EASY GUIDE TO ESSENTIAL ART TOOLS

Hello Fellow Arters and welcome back to Draw Daily!
It is a big, wide, and crazy world out there so you can’t be expected to know everything there is to know about art supplies. We all learn from one another, picking up bits of advice from here and there. Maybe we teach something new, open some eyes to a new perspective, or to just give someone the little push that they have been needing. Today we will be talking art supplies - and I would love to know what your favorite go-to supplies are!
Welcome to What’s in the Box!?
It's way too easy to get all topsy-turvy over all the different art tools out there; this list could go on for days and days. My first instinct was to try and cover as much ground as I possibly could in one blog post - but that would definitely be, well, to use the word overwhelming would be to completely understate it. I mean there is so much out there! Instead, I think the very best way to go about this is probably to do a series on all types of drawing and painting supplies. So, that is how I ended up here with the idea of starting What’s in the Box!?
This is going to be my official blog guide to all kinds of art supplies, so welcome to the series What’s in the Box!? Today I will simply go over the basics, discussing some of what I would recommend, or what I consider to be my favorite and essential tools when sitting down to sketch or draw. Let’s jump in!
DRAWING PAPER
Paper is a pretty big subject and can be a little difficult to wrap your head around at first, but is easy enough once you understand the basics. The type of paper you want to use will normally come down to the heft (how thick the paper is) and what it is made out of (usually wood pulp, cotton, or a mix thereof) - both of these qualities affect what you can or should do with it.
Heft is defined by how much 500 sheets of said paper would weigh. To put it a little simpler: the heavier it is, the thicker it will be. Your computer paper weighs 20 lbs, but typical drawing paper starts at around 60 lbs; the paper you use should be at least this. Heavier papers are used for wet mediums and some watercolor papers weigh up to 300 lbs. That is very thick, very heavy, and very stiff paper.
Most papers are made from wood-pulp, especially those meant for drawing, so that is what I am suggesting today. If you want a slightly higher quality paper you can try thicker papers, or one that is a mix of wood pulp and cotton, as they can be less expensive than 100% cotton. I suggest cotton papers for mediums that are wet because they are more absorbent and will not bleed like wood pulp papers can. It’s always good to try out all kinds of different papers to see what you feel most comfortable with, and is in line with your personal needs.
The Dreaded Sketchbook
Keeping a sketchbook can feel intimidating to a less experienced artist especially when seeing a more accomplished artist sharing theirs. It feels like a collection of finely tuned pieces that have been put together in a thoughtful way - so we tend to avoid using them. Having a sketchbook can be very important though, and I suggest trying to get in the habit of keeping one early on.
It is important that you understand that our sketchbooks are meant for us and us alone; where we can practice and develop our skills without anyone looking over our shoulder. It doesn’t feel like it now, but in years to come it will be very satisfying to have the opportunity to look back at our work. This is not a curation of nice and thoughtful drawings, it is a journey, where we learn, explore, and find ourselves. You should try keeping notes of the ideas and breakthroughs you might have experienced while drawing in them!

Mixed Media Sketchbooks - I personally like using Canson’s XL Mix Media sketchbooks for various dry media. I have some for travel, like you see here, which allows me to more easily leave the studio behind, and other, larger sketchbooks that I can use in my studio which I can work and study in a little more freely.
Bristol Paper - is a semi-heavy weight paper that is perfect for your more refined works, be they studies or finished works done in graphite, charcoal, pen, etc.
Card Stock - is thicker than standard computer paper, which is nice when you need paper that is going to be stronger and more resistant to rubbing, tears, and folding. I use this paper for quick designs or tests as it is smooth, easy to draw on, and easy to erase off of. You can cheaply purchase this paper in bulk, which makes it a great option for miscellaneous paper needs.
DRAWING UTENSILS
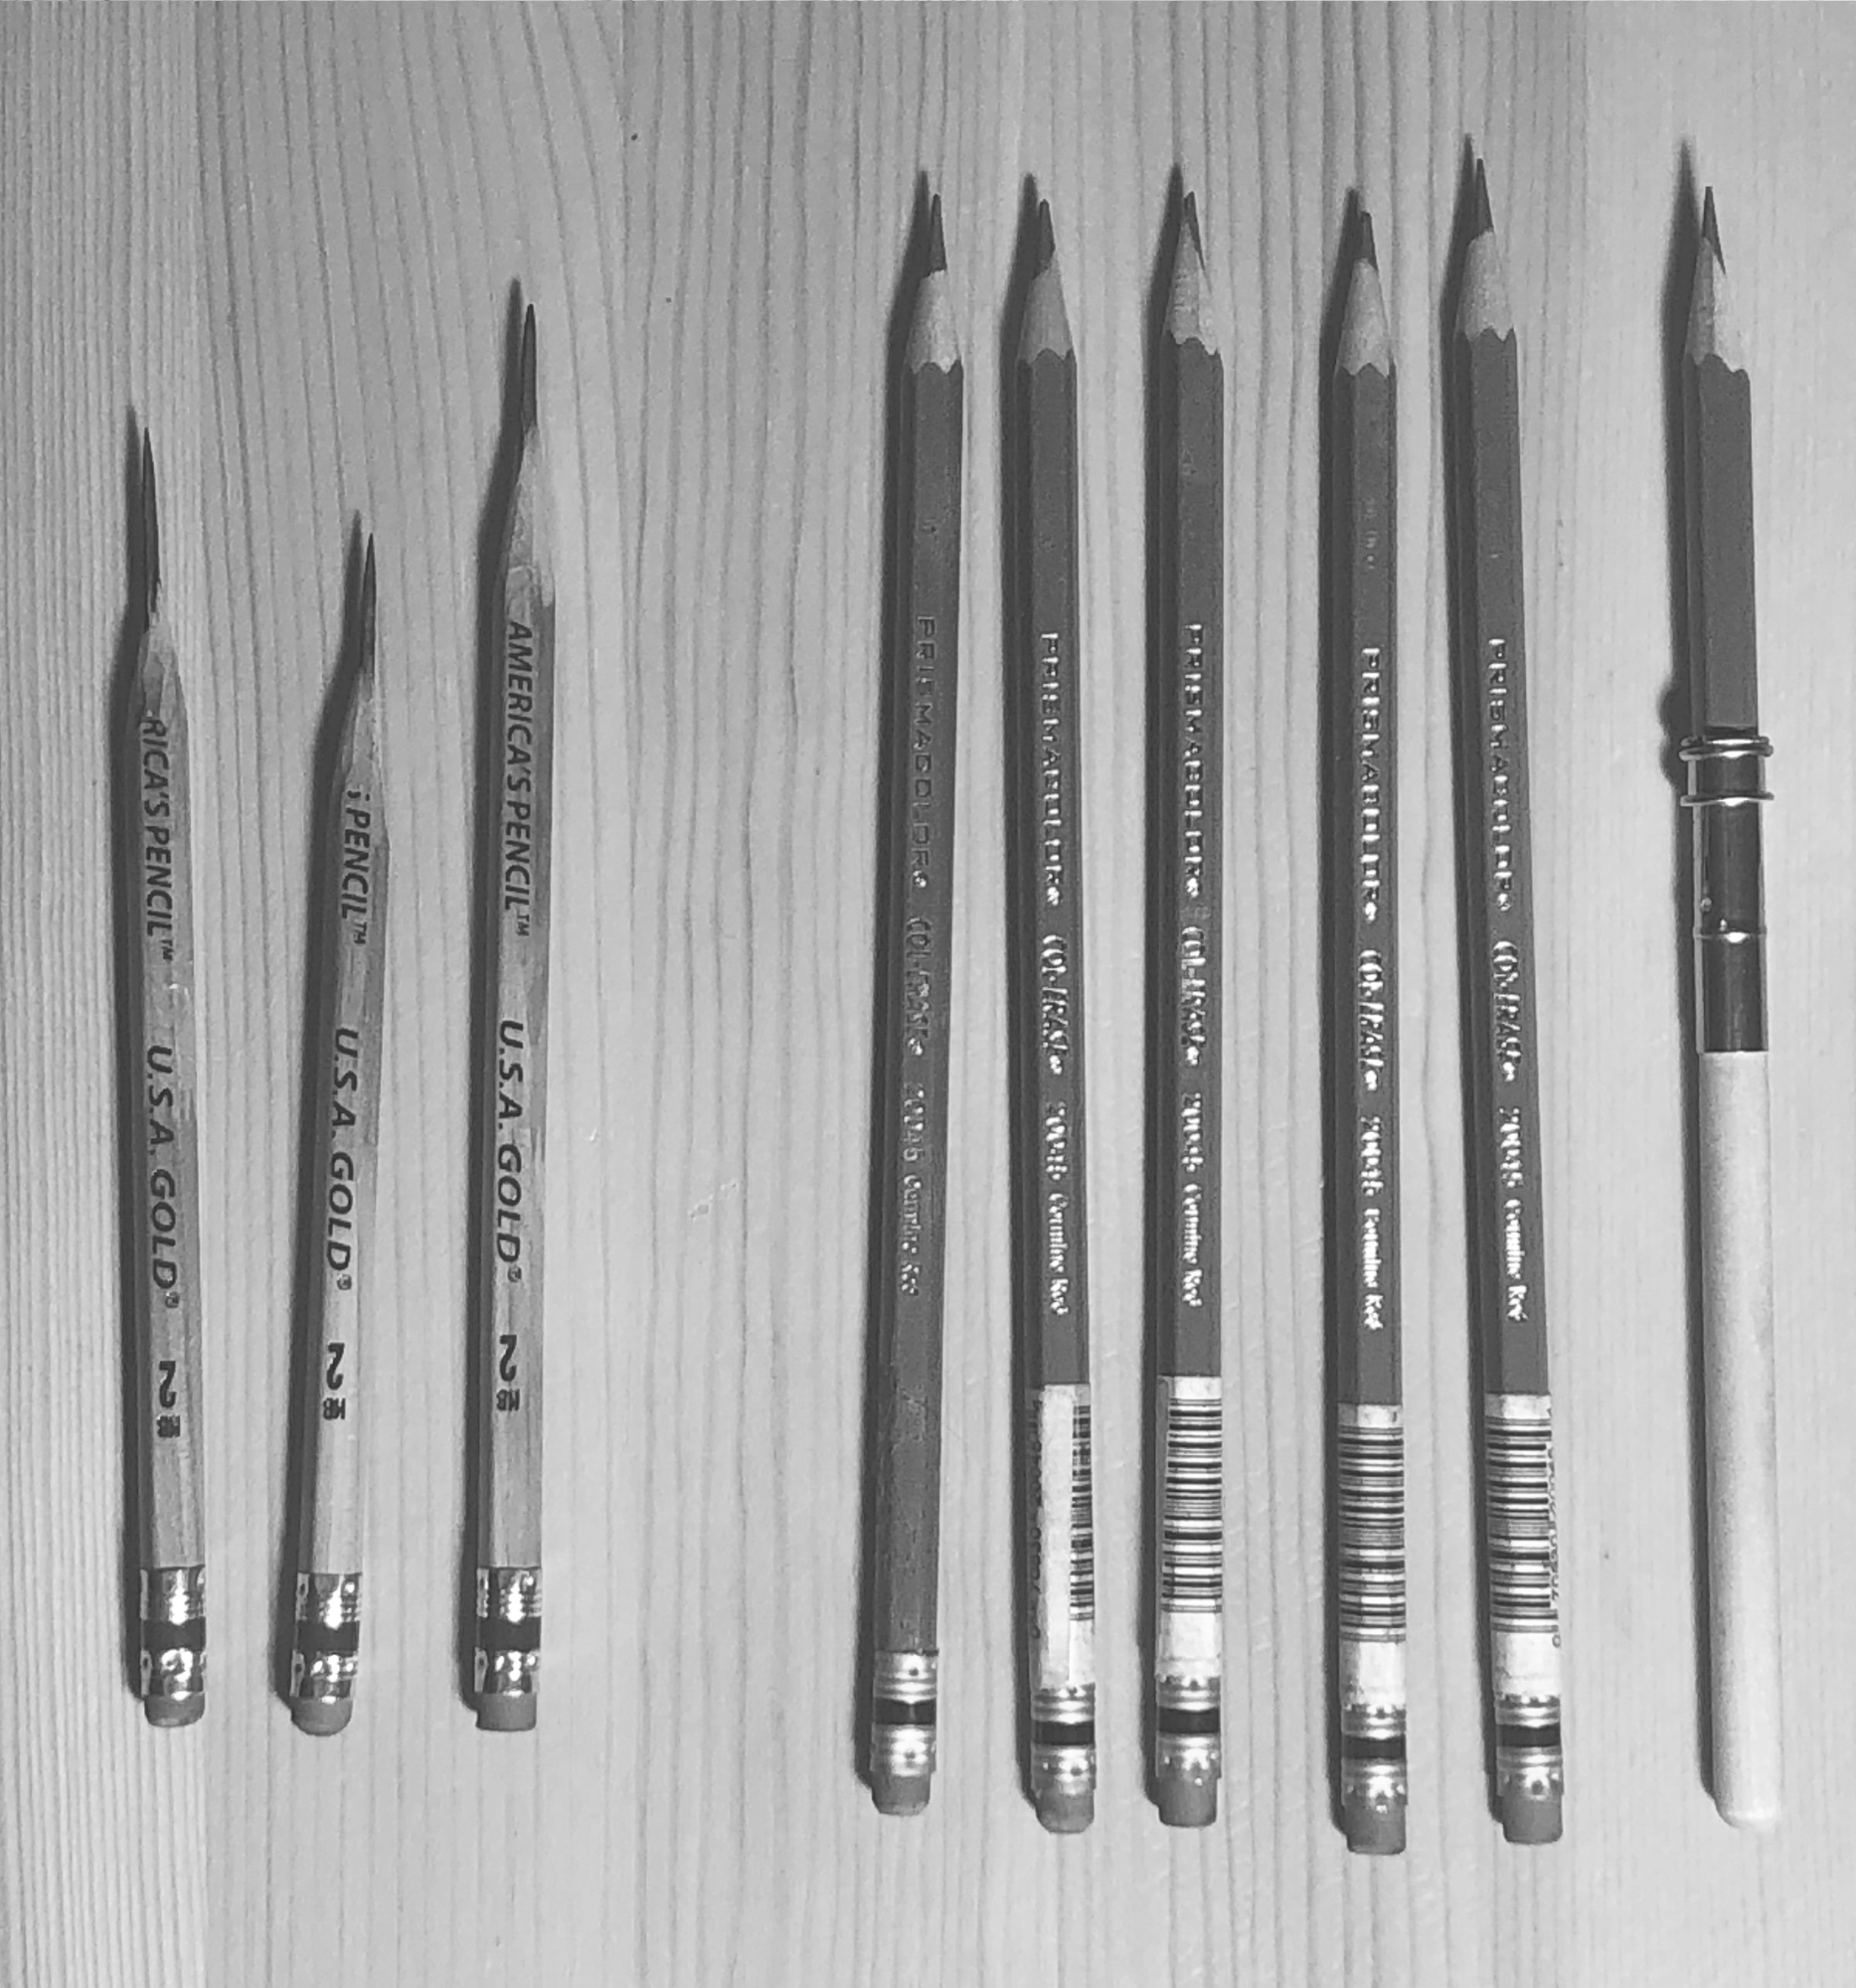
The Number Two Pencil - for your basic drawing needs, any number two pencil will do, really. But as an artist, I of course have a favorite. I don’t know where I originally found it, but I love me a good America’s Pencil U.S.A. Gold Pencil. Something about it just makes this pencil a pleasure to work with. Its smooth graphite core glides across the page, and is very easy to completely erase! Try out whatever you can get your hands on so that you can find your perfect Number Two.
Col-Erase Pencils - these are colored pencils that are more erasable than most, and if you notice come with an eraser. They come in 24 colors so it’s really easy to find the color you need, and besides being great to sketch with, they really compliment and work well with Copic Markers. This is my main sketching, and detailing colored pencil.
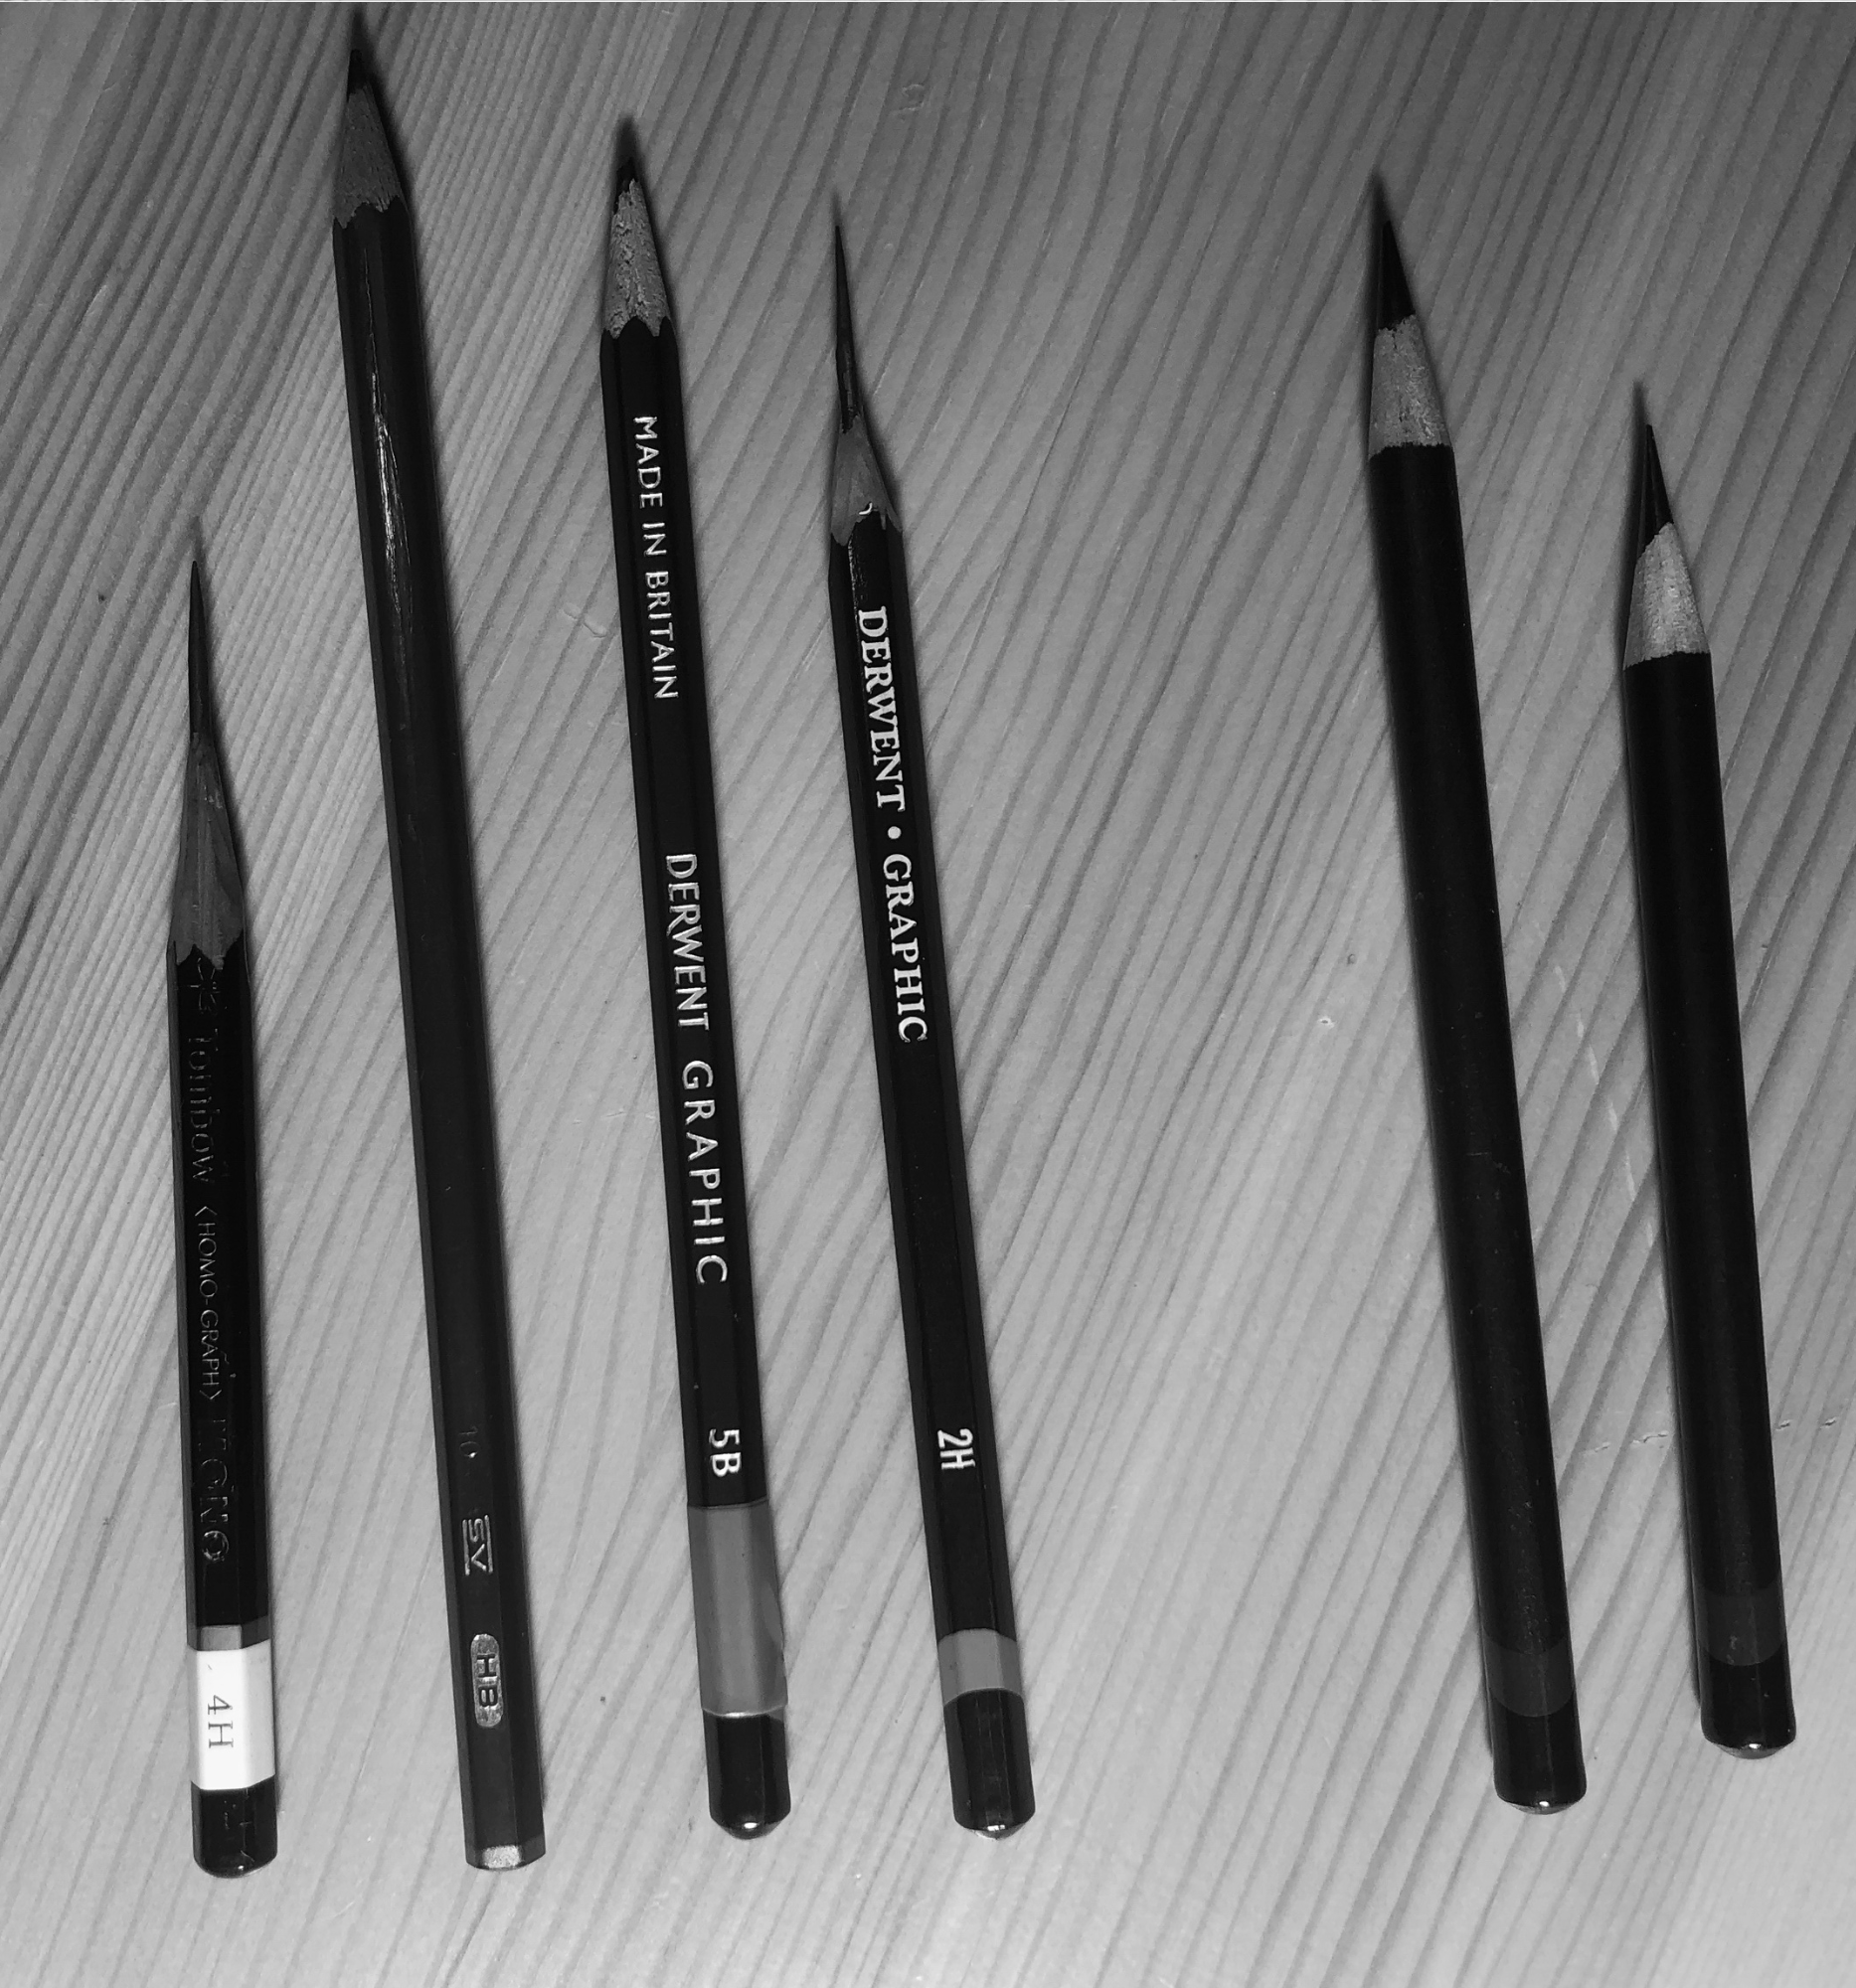
Artist Grade Pencils -give you a much wider range of pencil options that vary in darkness. A hard lead will leave very light marks while others are so soft that they are nearly black. This scale starts at the hardest, known as H pencils, and ends with the softest, known as B pencils. You likely won’t need one of every single type, but it’s something to consider if you’re interested in graphite-based work. Each pencil will give you a slightly different value to work in so that it is easier to achieve the value you require. Some of the brands you may be interested in checking out will include Derwent, Tombow, or Faber-Castell. I lean towards using Faber-Castell myself.
Onyx/Ebony Pencils - this is as close to black as a graphite pencil can get. Derwent offers the Onyx pencil while the Ebony pencil is sold by Prismacolor. You may find you have a preference for one or the other but effectively, these two pencils are the same thing!
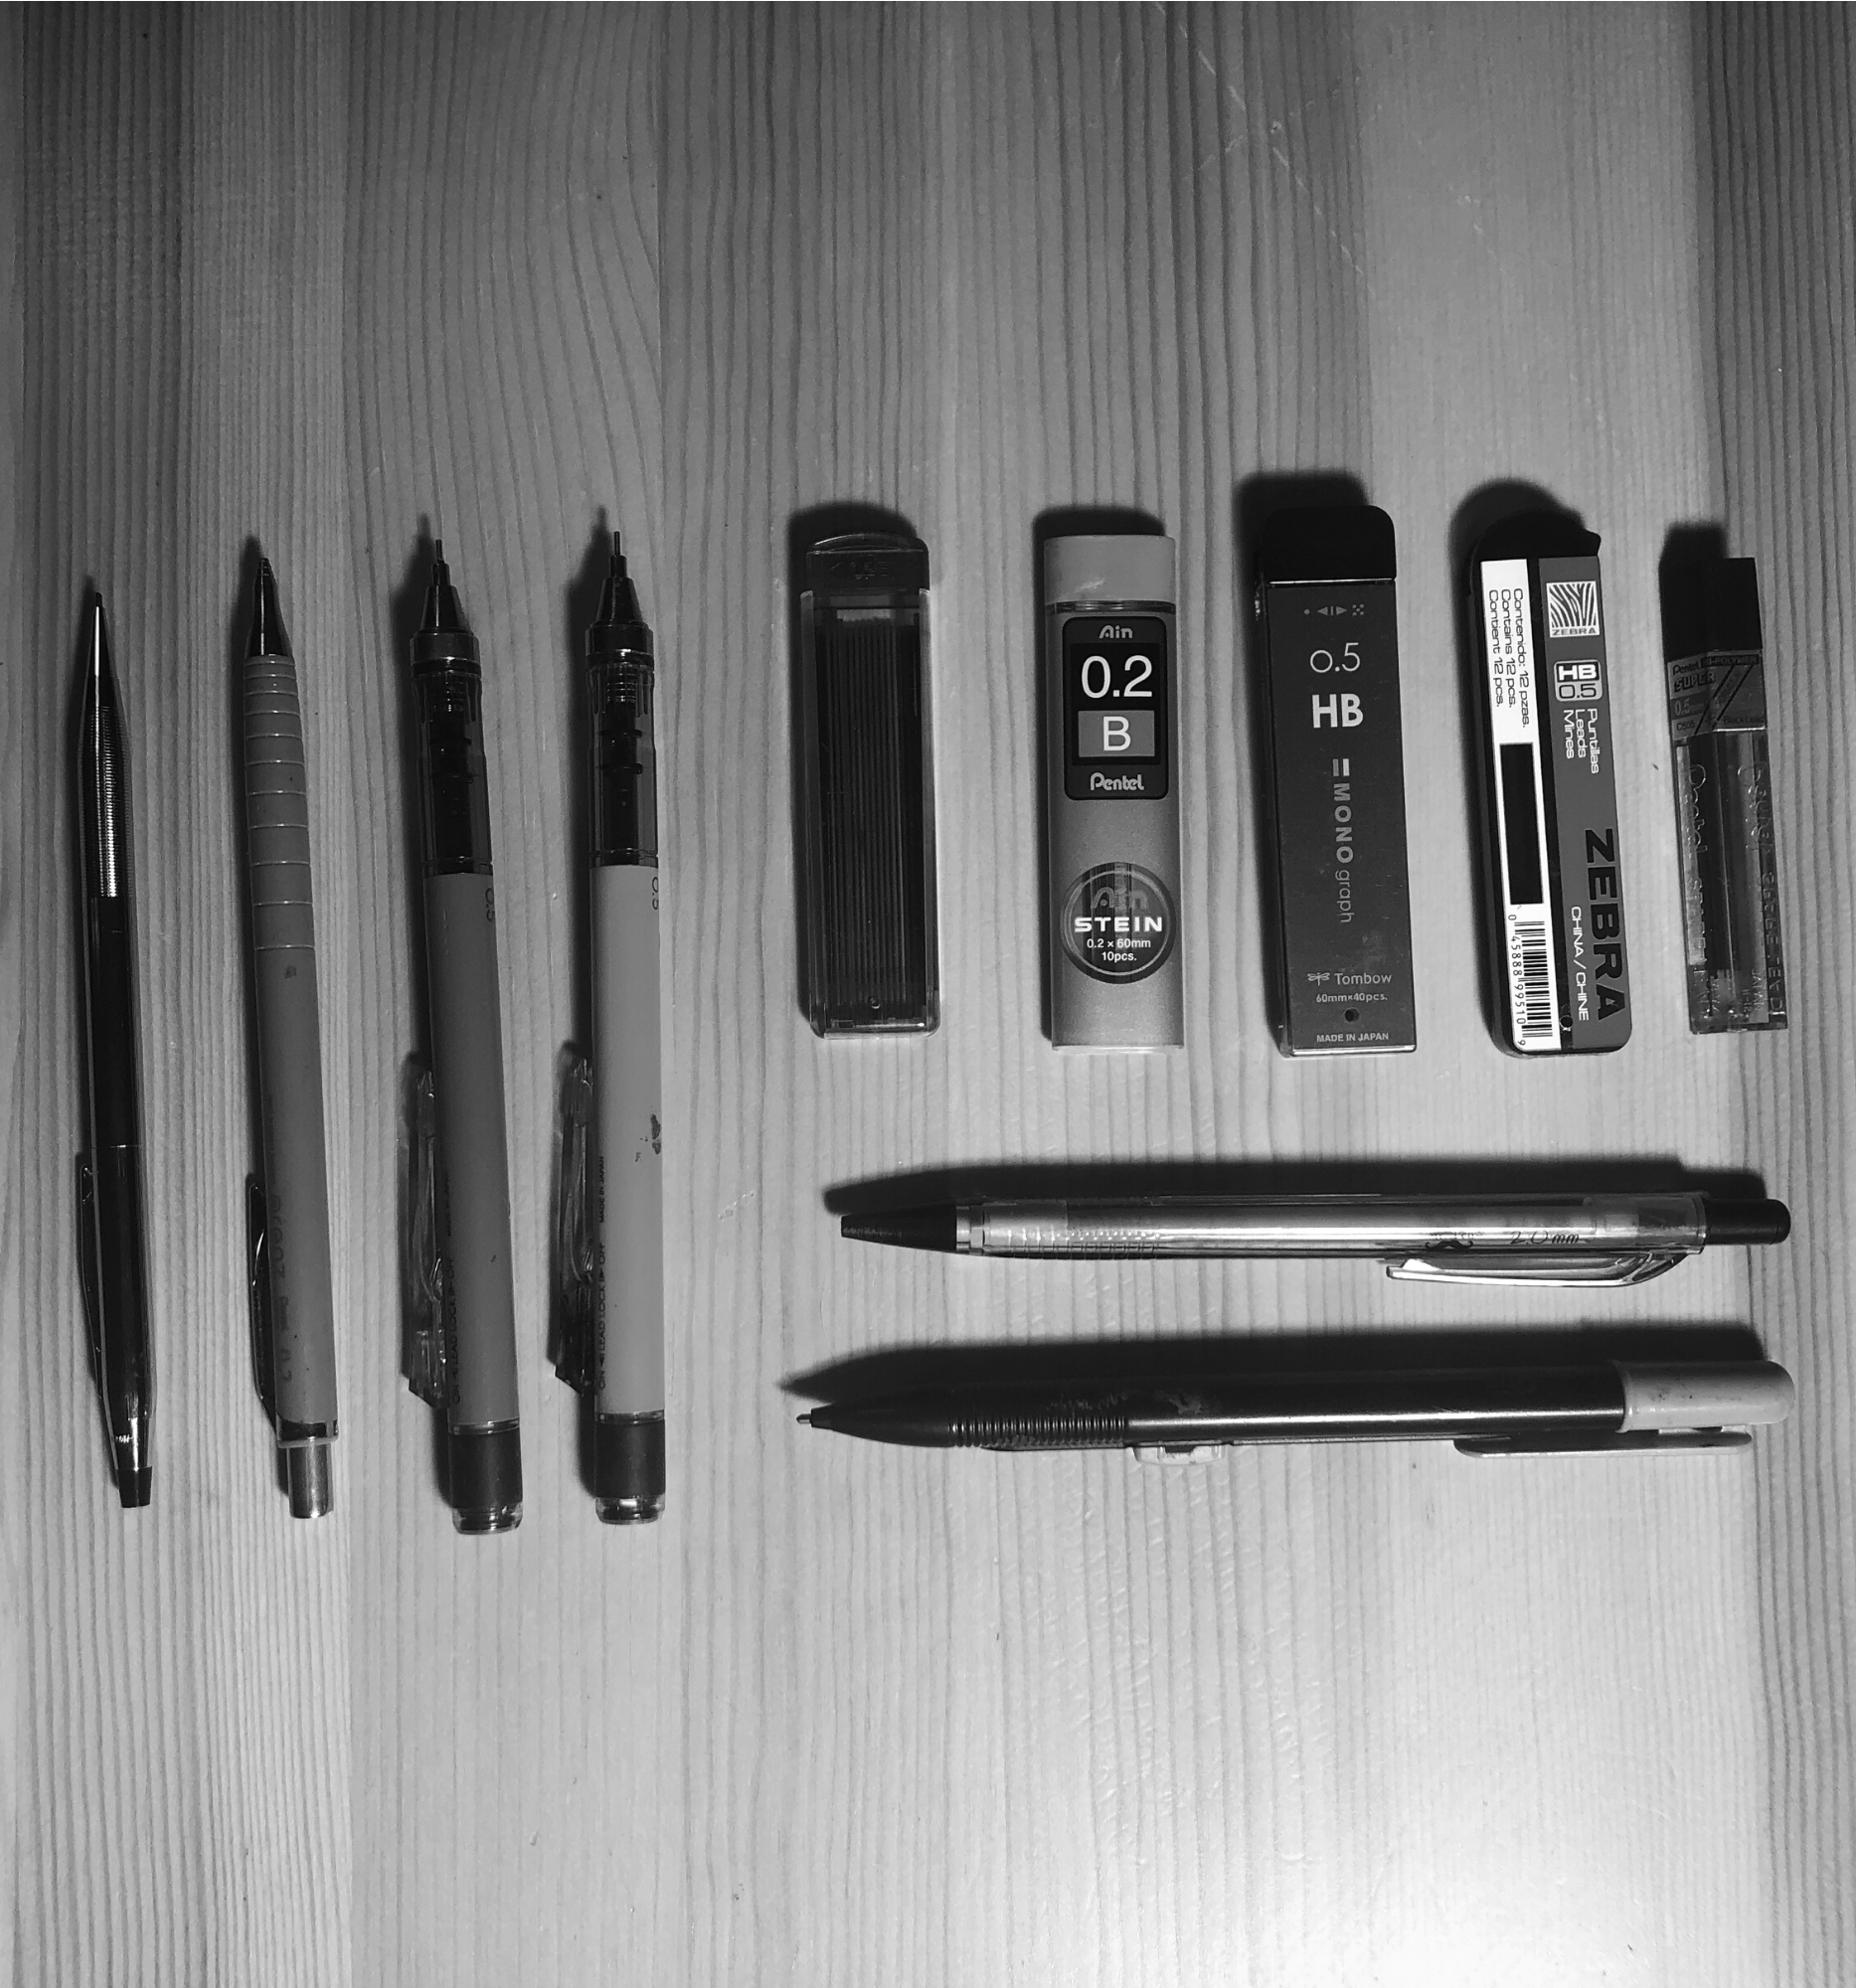
Mechanical Pencils and Leads - mechanical pencil leads can range in size, hardness, and color. In size, they can range anywhere between 0.2mm to 2mm although 0.5, and 0.7mm pencils are the most common mechanical pencil sizes. You will also find 0.2, 0.3, 0,5, 0.7, 0.9, and 2mm. I most frequently use 0.5, and 0.9 sized pencils, and the refills I use are from Pentel. You can find them in varying hardnesses, and I like to use either B, or H4 so that I can get a nice range of values. You can also find a variety of colored leads ranging the whole rainbow.
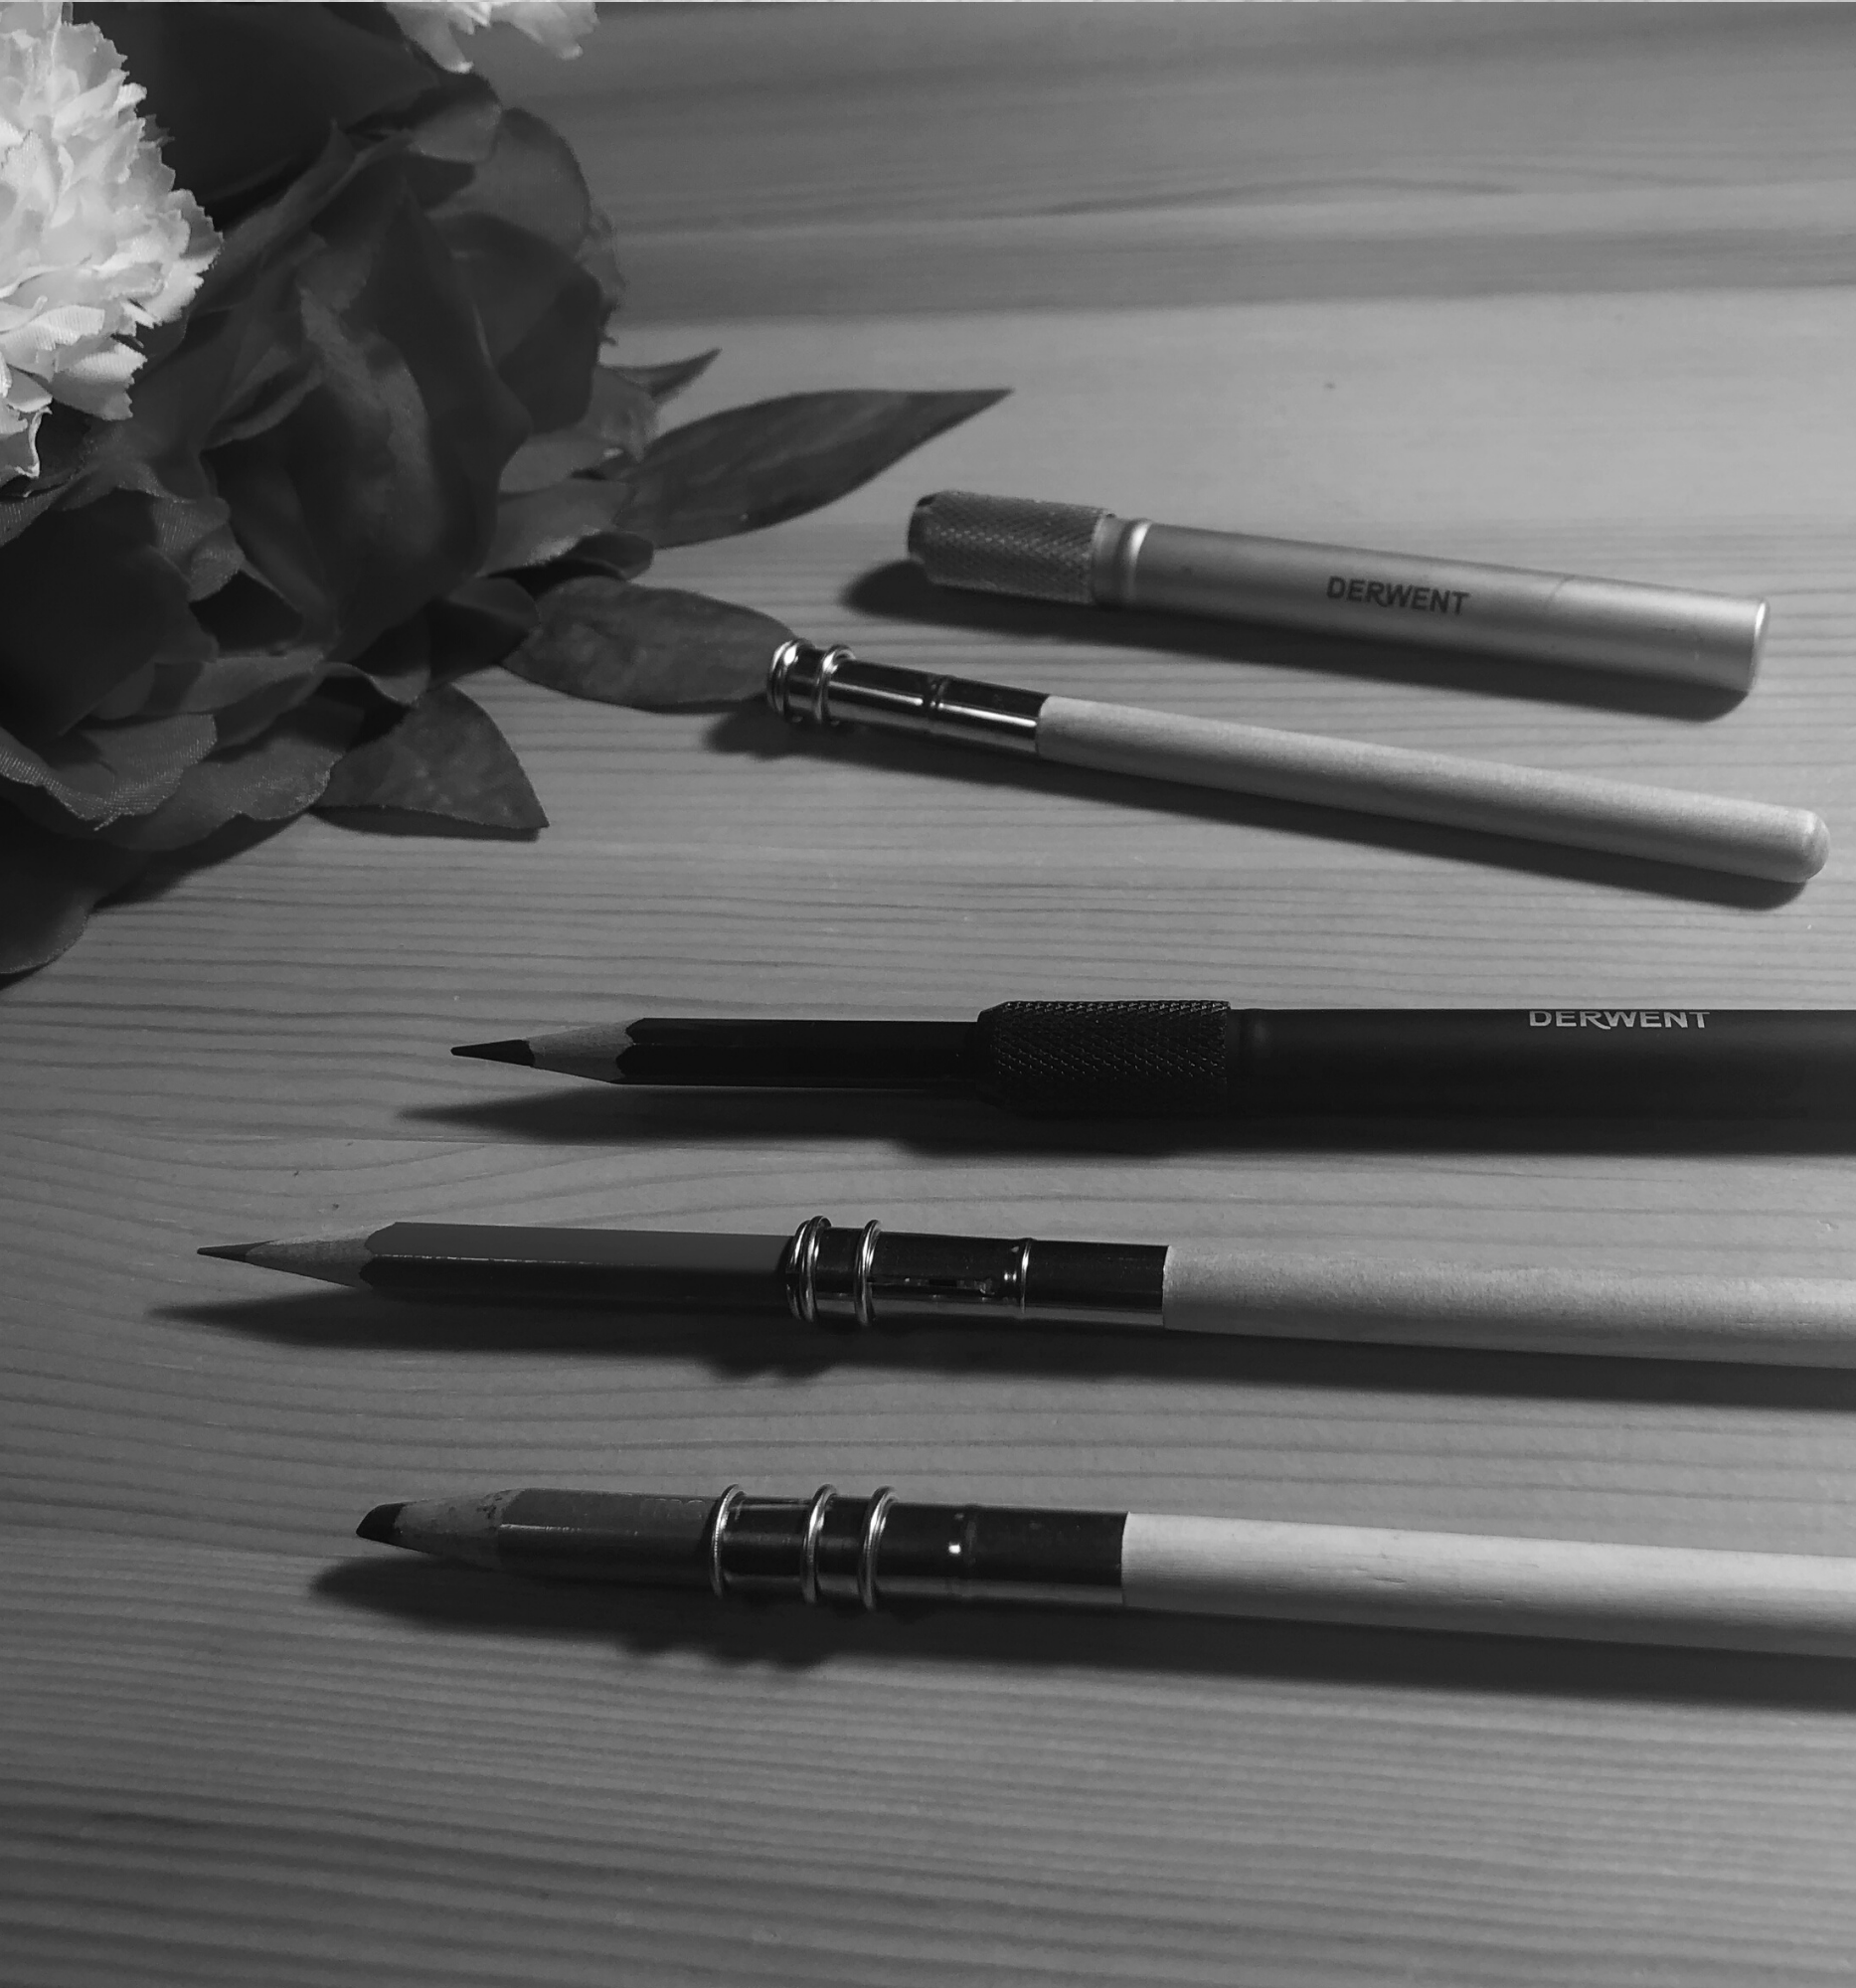
Pencil Extenders - these are really great, they let you get more life out of your too-short-to-use, but too-big-to-throw-away pencils. You paid good money for those pencils, use them! They come in various styles, including wood, plastic, or metal. Some screw open and close, while others use tension to hold the pencils in place.

ERASERS
Electric - has real “elbow grease” to help remove a lot of graphite especially in small areas that can be otherwise hard to remove. There are quite a few different options out there, but brand really isn’t all too important.
Kneaded - erasers are great for either lightening graphite marks, lifting away highlights, and for detailed erasing. I prefer Faber-Castell’s kneaded eraser.
Rubber - stiff and solid erasers which are good for clearing away unwanted graphite. I’ve been using the, very basic, Pentel Hi-Polymer eraser.
Tombow - instead of leaving behind a lot of eraser dust, the pieces grab onto one another and create larger eraser shavings that are easier to clean up.
OTHER DRAWING SUPPLIES

Rulers - great for measuring and comparative drawing. Measure aspects of your reference and use those to create a better drawing. I suggest having a clear ruler so you can easily see your reference below it.
Compass - this is not something that tells you where the north pole is, but instead, a tool to draw circles, arcs, and measuring distances between two points. It consists of two arms linked by an expandable joint, one arm ends in a point, and the other, usually carrying a pencil.
Protractor - you may remember these from high school math. They are used for measuring angles, which is usually a semi-circle marked with degrees along the curved edge.
Utility Knife - a graphite technique is to expose about an inch of the core in a wooden pencil, a method that provides a number of advantages, so using the knife you can cut away at the wooden barrel.
Pencil Sharpeners
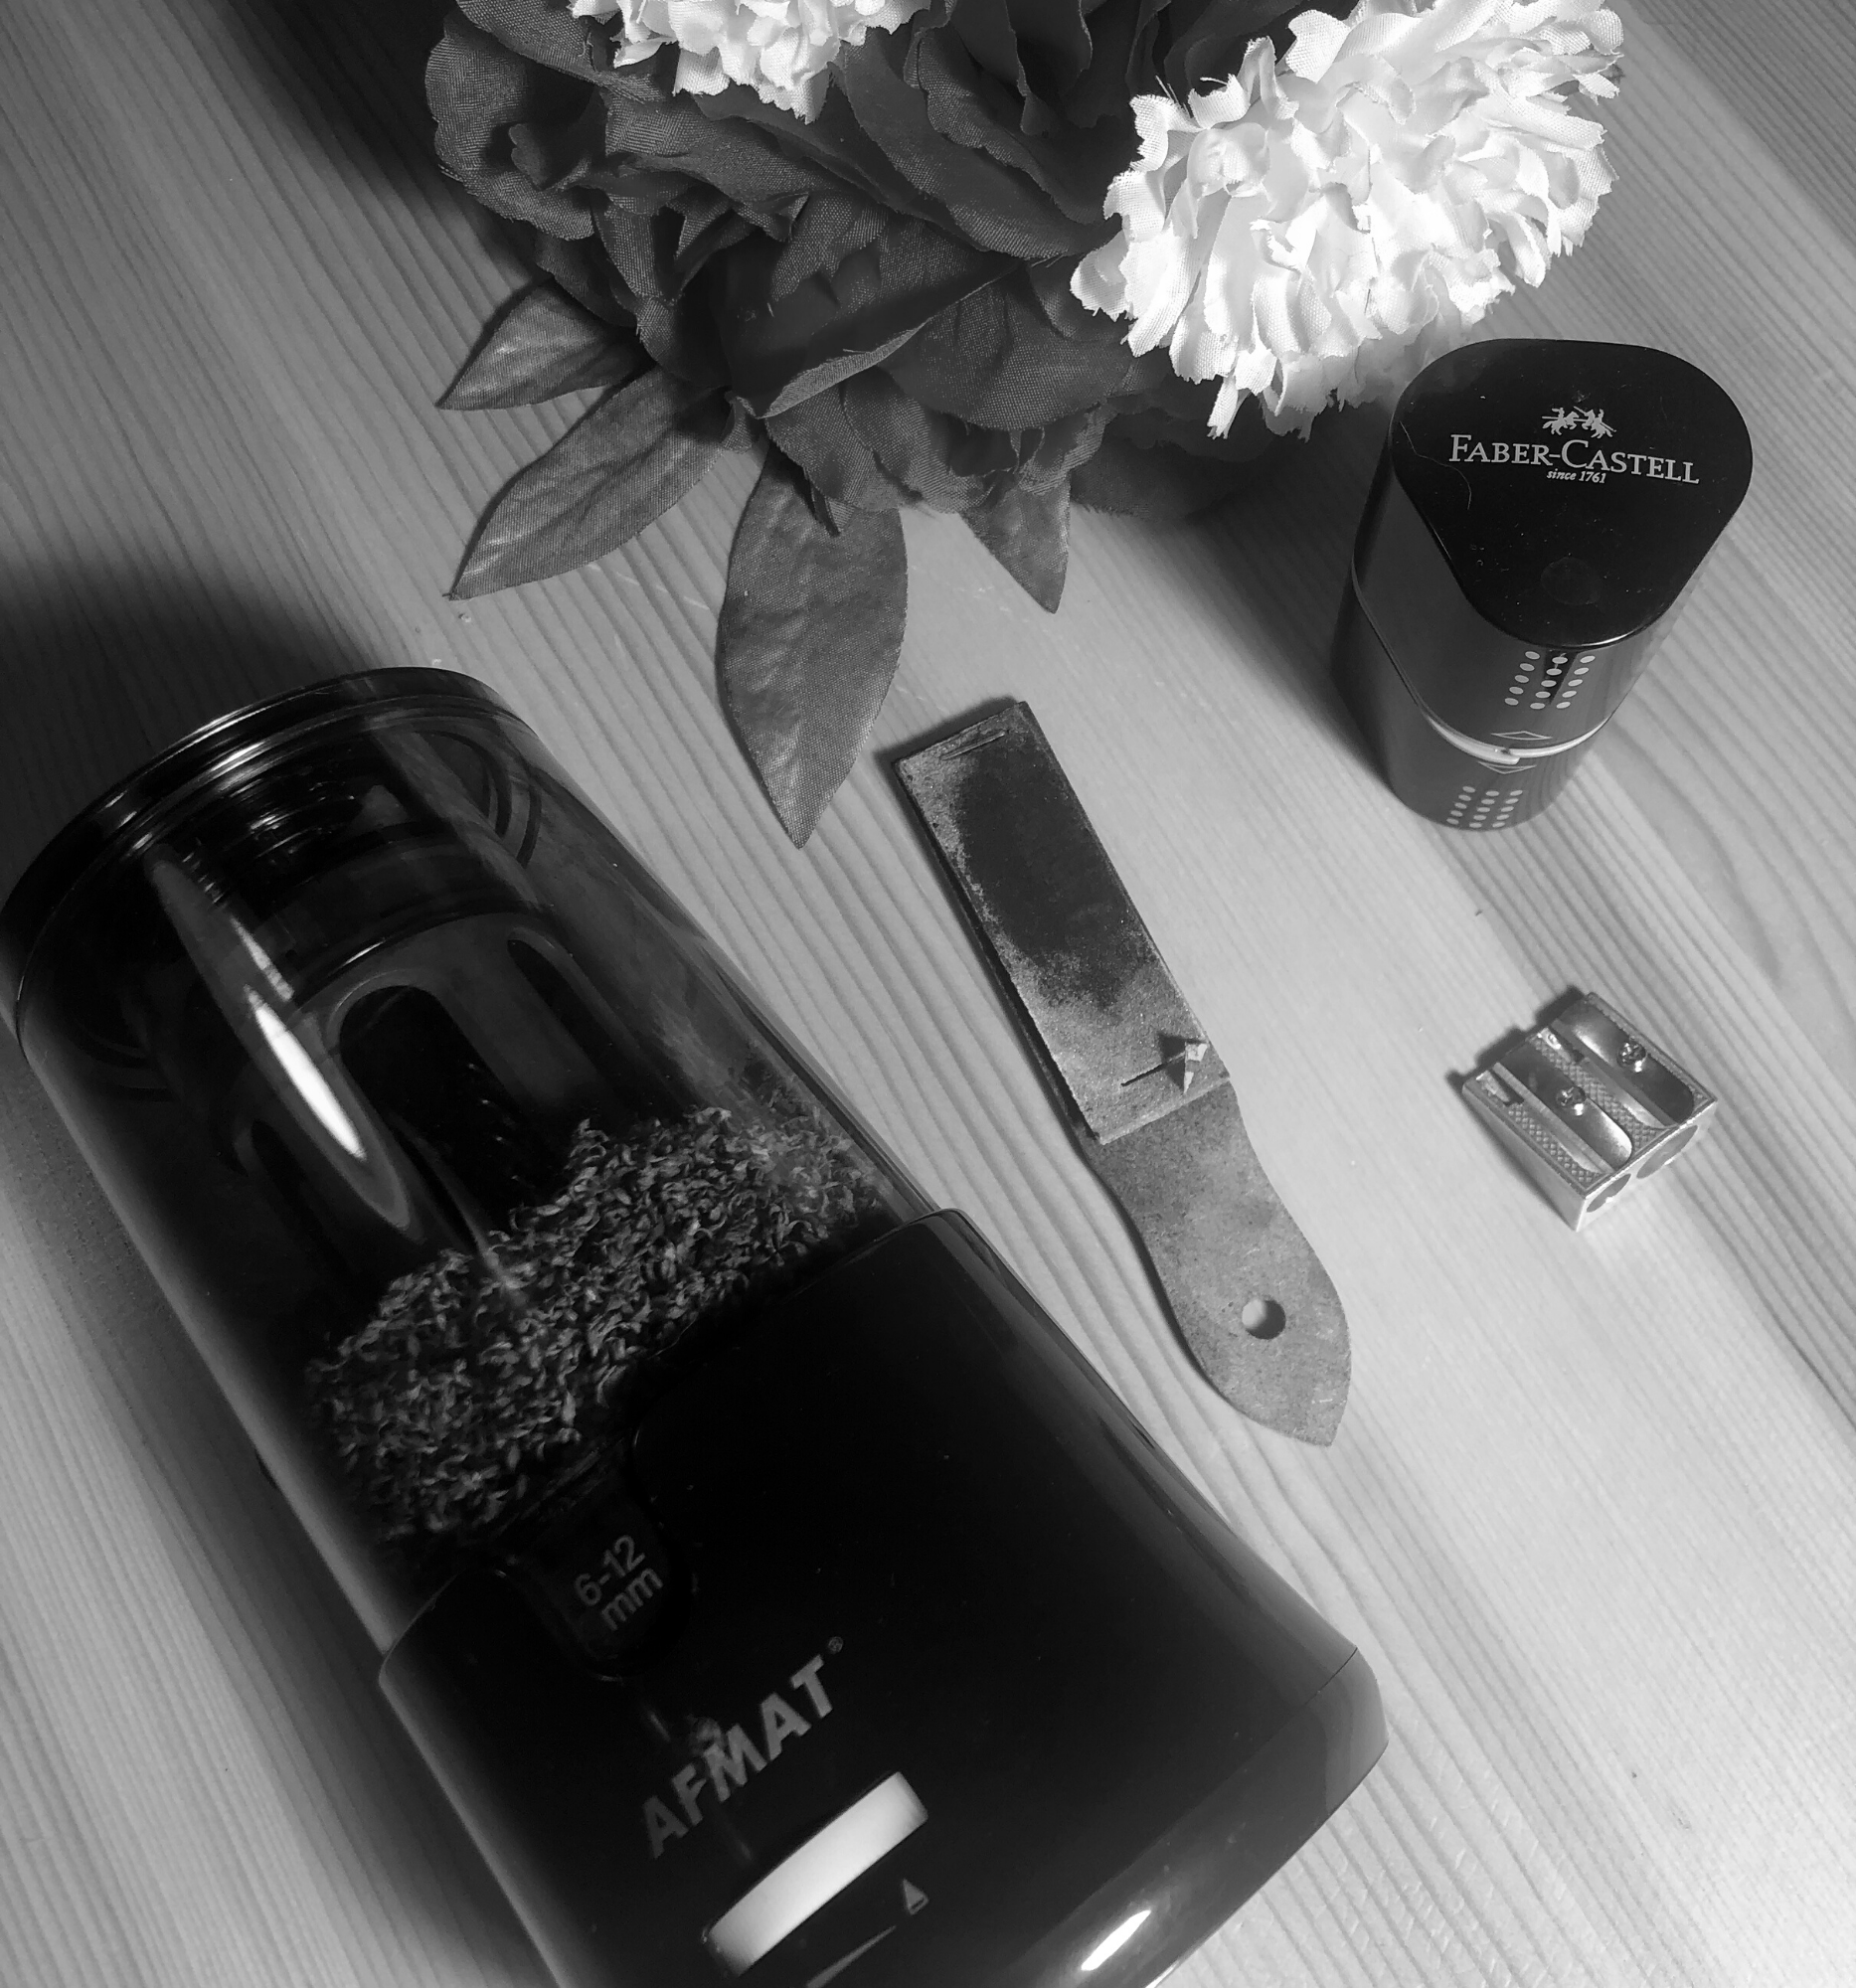
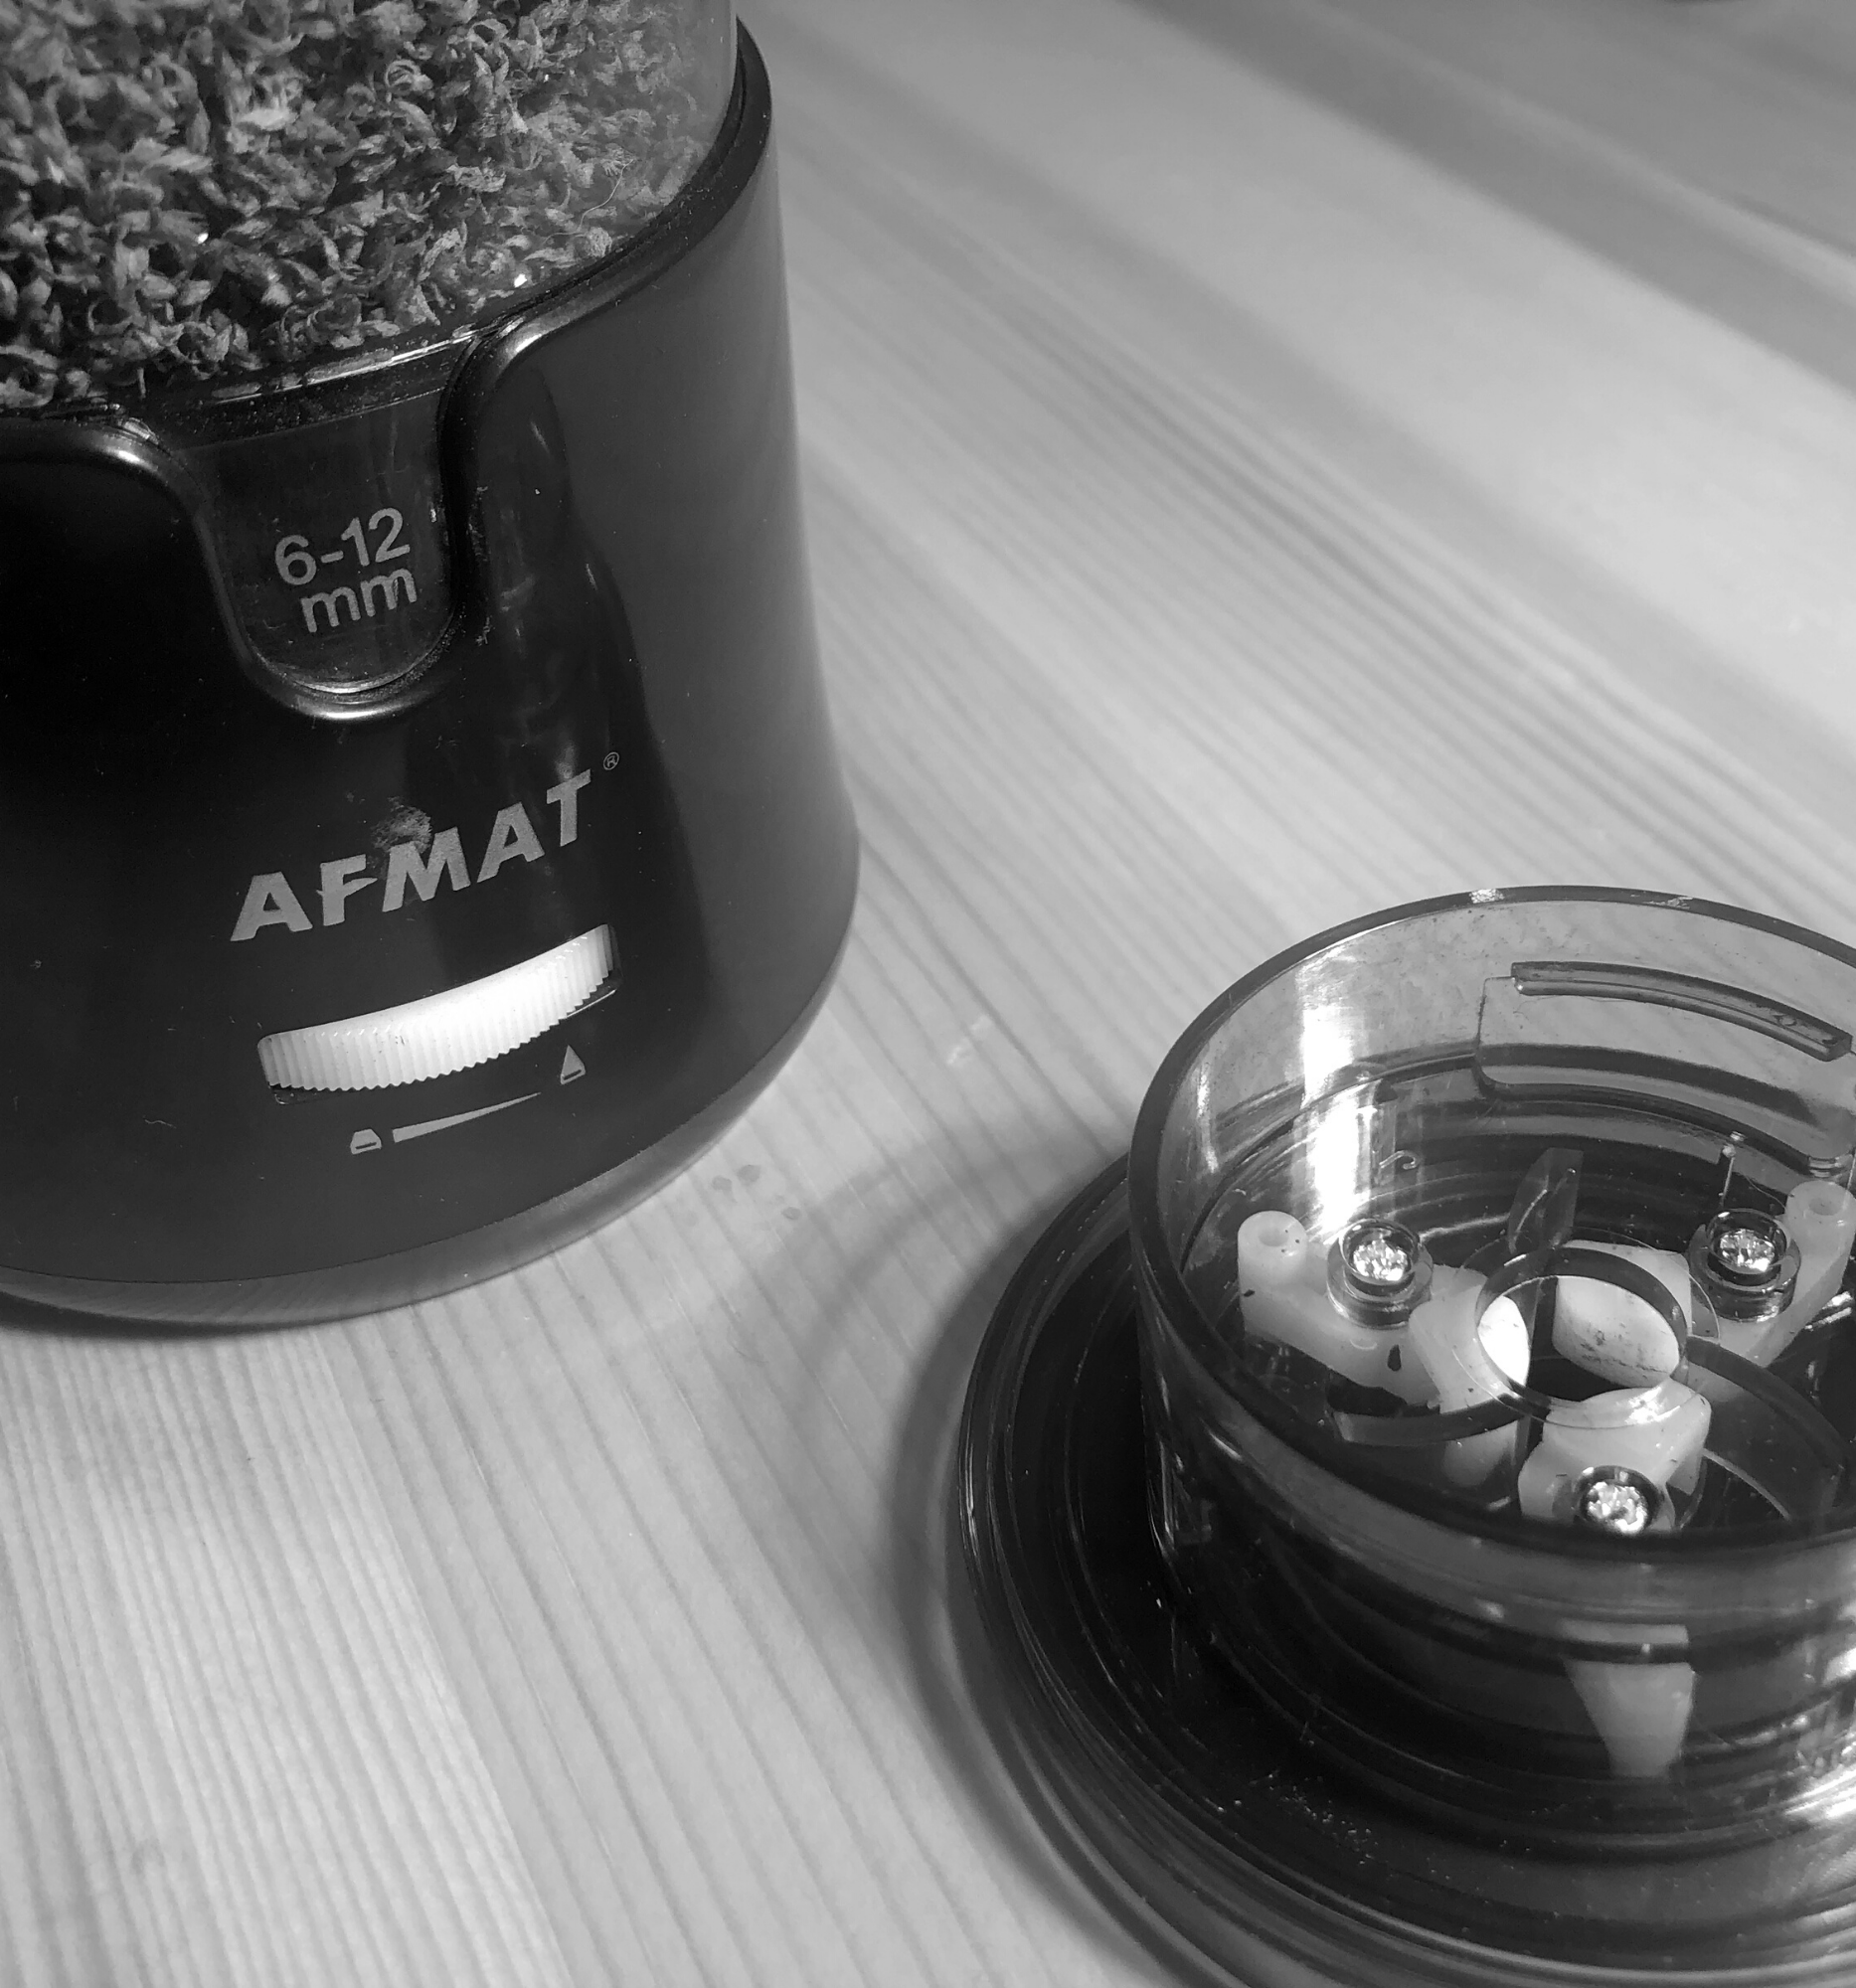
Electric Sharpener - there are a number of ways you can sharpen your pencil but the safest and most effective way is an electric sharpener. My favorite thing about electric sharpeners is that they are far less likely to break your pencil tip compared to any of the other methods mentioned in today’s post. There are many options out there, but the electric sharpener shown below has the ability to sharpen pencils of various sizes so that it is possible to not only sharpen the typical pencil - you can also sharpen pencils that are as large as 12mm. This particular model even allows you to swap out the sharpener blade for a new one if necessary.
Hand Operated Sharpener - this is probably the only item on this list that I actually don’t like to use, but it is an inexpensive and readily available resource which is easy to travel with. These are probably the most common type of sharpener. That being said, I find that hand operated sharpeners are fickle, and have a much higher chance of breaking the lead of your pencil.
Sand Paper - sandpaper is an oldie but goody that can help us get a very sharp or fine point to whatever medium we might be using. As pictured, you can see I used this to sharpen a charcoal pencil so that I could get the fine detail work in my drawing. You can get one of these fancy artist sandpaper boards, or you can - much more inexpensively - just get your preferred sandpaper grit from the Home Improvement section.
FIN
Is this the start and finish of drawing tools? Of course not. These are just the basic materials I use myself, and make drawing an inexpensive hobby to get into. All you really need is paper and pencil, but here you at least have some idea as to what materials could be most useful. Let me know if we share any favorites or if you have different tools that you simply can not live without!
That’s it for today, thanks for reading!
I’m MK and this is Draw Daily!