Basic Training
LESSON TWO


Drawing Warmup
To begin this exercise, you’ll need a large sheet of paper; ideally something like 18 by 24 inches. The reason for this is you need room to move. A small sketchbook or something like printer paper just won’t cut it here. You’ll feel cramped and your movements will be restricted to that surface size.
You can use any paper you like, but I suggest newsprint. Newsprint is inexpensive, lightweight, and comes in large dimensions. Part of the benefit of newsprint is that you won’t feel precious about it. You’re more likely to take risks, draw freely, and be open to making mistakes - exactly what you need at this stage.
Now you need to hang your paper, somewhere you can reach comfortably while standing. An easel works, but you can just as easily use a wall or door. The goal is having the paper at a height that allows your whole arm to move freely, without hunching over or stooping.
Standing is important because we are often incapable of fully engaging in as wide a range of motion from the sitting position. Our legs, the chair, our surroundings, and even our table or desk can get in the way, preventing us from using our whole arm.

Here you can see the general range of motion for each joint in the arm:
Shoulder (A): This joint offers the widest range of motion—from reaching high above your head to behind your back. This is your power center when drawing. It’s what allows you to make long, smooth lines, big arcs, and flowing curves.
Elbow (B): The elbow acts as a pivot point. The elbow lets your arm adjust while your shoulder leads. It helps guide your hand around the page while still keeping movement fluid and controlled.
Wrist (C): The wrist has the smallest range of motion and tends to produce short, curved, and often shaky lines. It’s great for tiny details, but for cleaner and more confident strokes, it’s best to lock the wrist and let your arm do the work.
Draw With Your Arm
Start by picking up your chosen medium and making contact with the paper. There is no specific goal here yet, just explore the surface. Feel how your tool interacts with the page. Draw circles, lines, spirals-anything, as long as your arm is moving.
Draw from the Wrist
Most beginners naturally draw from the wrist or fingers. it’s similar to writing, and often we’re working on a small sheet o f paper which also limits our movement. While this may feel more natural, it can create tight, sketchy lines and bad habits. This is why it is important to start exploring movement beyond the wrist early on.
Draw from the Elbow
Next, try drawing from the elbow. This can feel awkward at first, but it gives you much more control over mid-sized actions. Keep your wrist and fingers locked, and try sweeping strokes from left to right and right to left using just your elbow. The goal is to expand your range of motion and grow more comfortable working on a larger page.
Draw from the Shoulder
Now try drawing from your shoulder. This is the hardest, but most important movement to master. Use your whole arm to draw large circles. This is why we work on large sheets of paper, you need that room to move.

Grip One: The Default
This is the way most people hold a pencil when writing. Your own version may vary slightly, but it’s probably the only grip you’ve ever used up until now. It offers the most control for small, detailed marks, and that’s why it feels so familiar. But it also keeps your movement limited to the fingers and wrist - something we’re aiming to expand on.
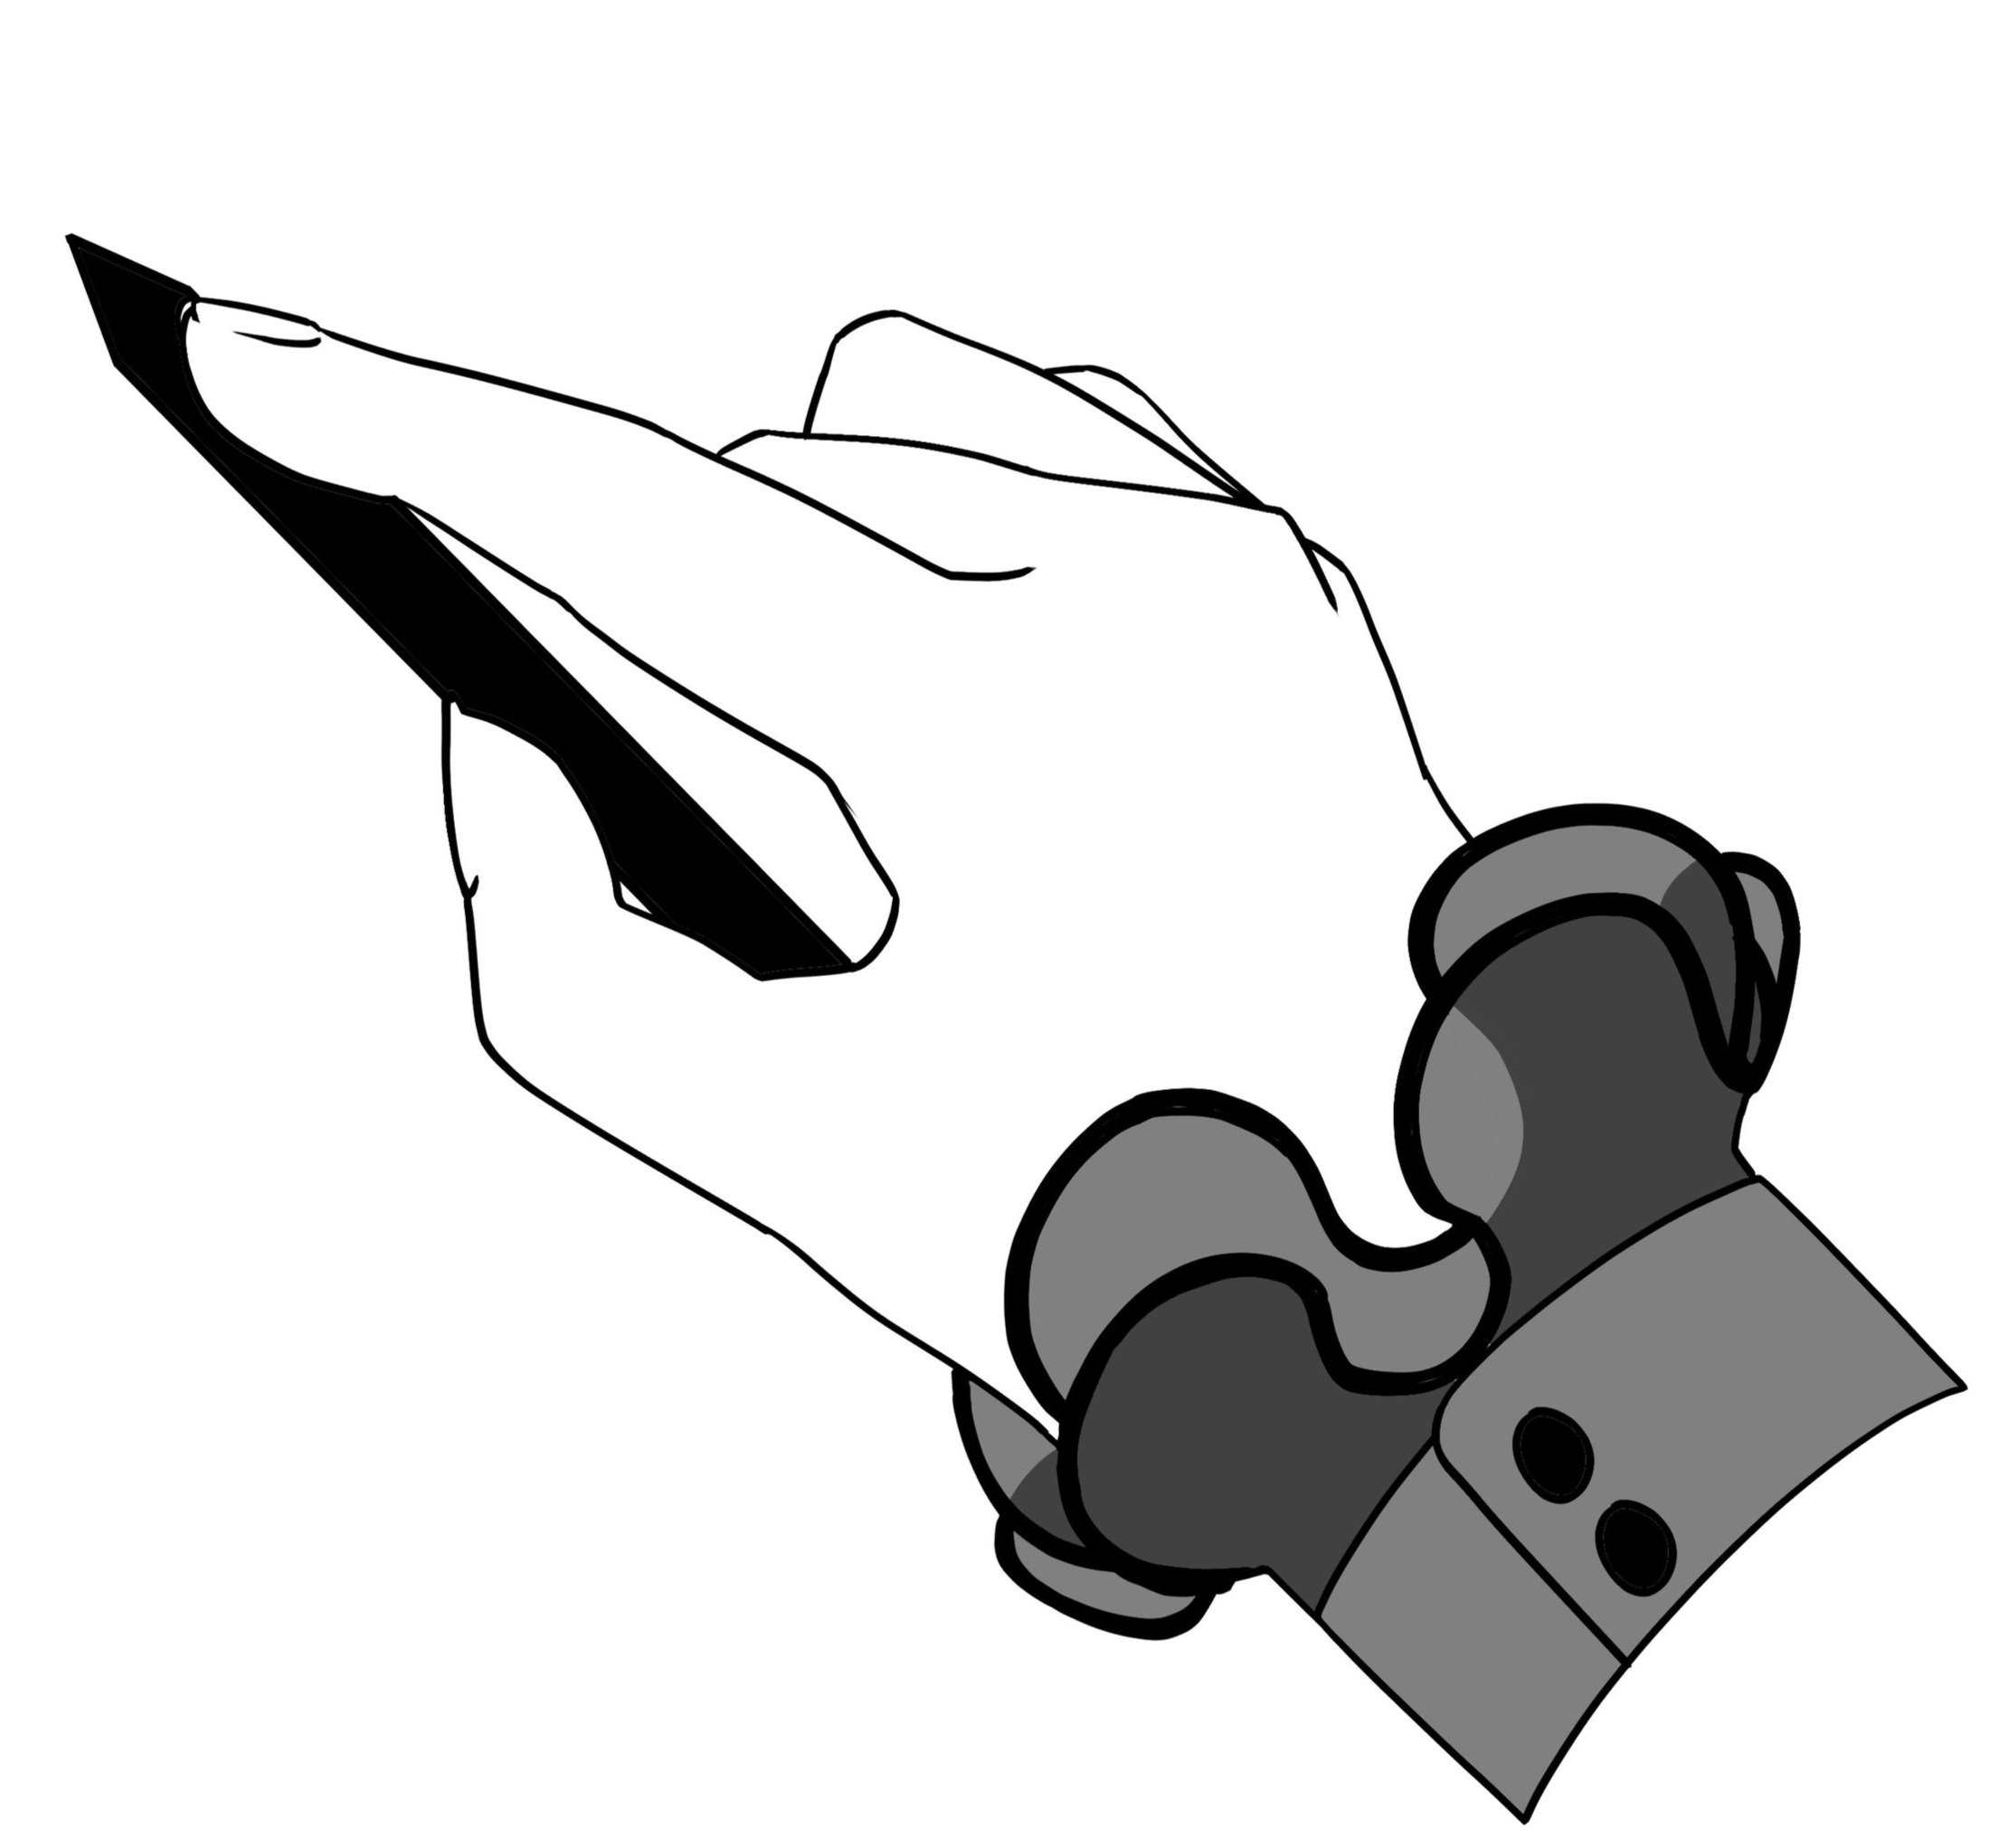
Grip Three: Underhand
Here your pencil rests under your hand rather than between your fingers. Your index finger goes on top, and your thumb and remaining fingers cradle it from below. This grip encourages you to draw with the side of your pencil instead of the tip, which allows you to cover more area more quickly; ideal for broad strokes or large-scale shading.

Grip Two: Extended
This grip is a simple variation of the first. All you do is hold your pencil further back. While it may feel like you’re losing control, this grip gives you a softer, lighter touch on the the page. It’s great for delicate marks and shading, especially if you struggle with heavy pressure.

Grip Four: Loose Extension
This final grip might feel the most unfamiliar and possibly the most freeing. Hold your pencil loosely with your thumb on one side and your other fingers gently supporting it on the opposite side. Let it rest in your palm, and close your fingers around it. You’ll notice this grip reduces your fine control, but it greatly increases your range of motion. Your wrist, elbow, and shoulder can move more freely, making this grip especially useful for large, expressive marks or for drawing while standing.

Draw Using Different Grips
Now that you’ve explored drawing from the shoulder, elbow, and wrist, it’s time to experiment with how you hold your drawing utensil. As with the last exercise, what you are drawing matters far less than how you’re drawing. Keep your arm moving and try the alternative between the grips shown here.